


Ecokap Residential Vinyl Flooring
SKU: PVKPZCA01
Wood-look flooring that transforms the room without requiring demolition: Ecokap installs directly over existing ceramic tile, granite, or marble, with a total thickness of 2 mm and 6 layers of virgin PVC that provide thermal comfort, light acoustic insulation, and a hypoallergenic surface that is safe for children and pets. The 0.20 mm protective wear layer is designed for the everyday demands of bedrooms, living rooms, home offices, and low-traffic commercial spaces, with a 10-year warranty for residential use and a 5-year warranty for light commercial use.
Cleaning requires no waxing or sealants: a broom, damp cloth, and mild detergent are all that is needed to keep the finish looking its best. Made domestically, with Eureciclo-certified packaging and approval in the United States and the European Union, Ecokap combines the look of wood, everyday practicality, and environmental awareness in a single flooring solution.
 Domestic product
 Thickness
of 2 mm UV protection included
 Warranty
10 years


Wood-look flooring that transforms the room without requiring demolition: Ecokap installs directly over existing ceramic tile, granite, or marble, with a total thickness of 2 mm and 6 layers of virgin PVC that provide thermal comfort, light acoustic insulation, and a hypoallergenic surface that is safe for children and pets. The 0.20 mm protective wear layer is designed for the everyday demands of bedrooms, living rooms, home offices, and low-traffic commercial spaces, with a 10-year warranty for residential use and a 5-year warranty for light commercial use.
Cleaning requires no waxing or sealants: a broom, damp cloth, and mild detergent are all that is needed to keep the finish looking its best. Made domestically, with Eureciclo-certified packaging and approval in the United States and the European Union, Ecokap combines the look of wood, everyday practicality, and environmental awareness in a single flooring solution.
General data
Performance
Commercial
Composition
Sustainability
|
1
|
Acclimate the boxes
Before starting, leave the unopened boxes in the room where the flooring will be installed for enough time for the product to adjust to the local temperature and humidity.
|
|
2
|
Prepare the substrate
Make sure the substrate is clean, dry, firm, and level. Remove any residue, dust, grease, and irregularities that could compromise the adhesive’s bond.
|
|
3
|
Check substrate compatibility
The product can be installed over a screed, granite, marble, or existing ceramic flooring, provided that the substrate is sound and free of loose sections, cracks, or moisture.
|
|
4
|
Apply the adhesive
Use an adhesive suitable for vinyl flooring. Apply it evenly to the substrate, observing the waiting time specified by the adhesive manufacturer before laying the pieces.
|
|
5
|
Lay the pieces
Position the planks or tiles over the adhesive and press firmly, ensuring full contact between the piece and the substrate. Follow the planned alignment for the room.
|
|
6
|
Observe expansion joints
Maintain perimeter and intermediate expansion joints as specified in the design, allowing the flooring to move naturally in response to temperature variations.
|
Routine cleaning
Maintenance is simple and does not require periodic treatments such as waxing, sanding, or applying sealants. Daily cleaning keeps the floor in excellent condition for years.
Avoid water accumulating in the joints. Infiltration can compromise the adhesive, causing bubbles and the pieces to come loose.


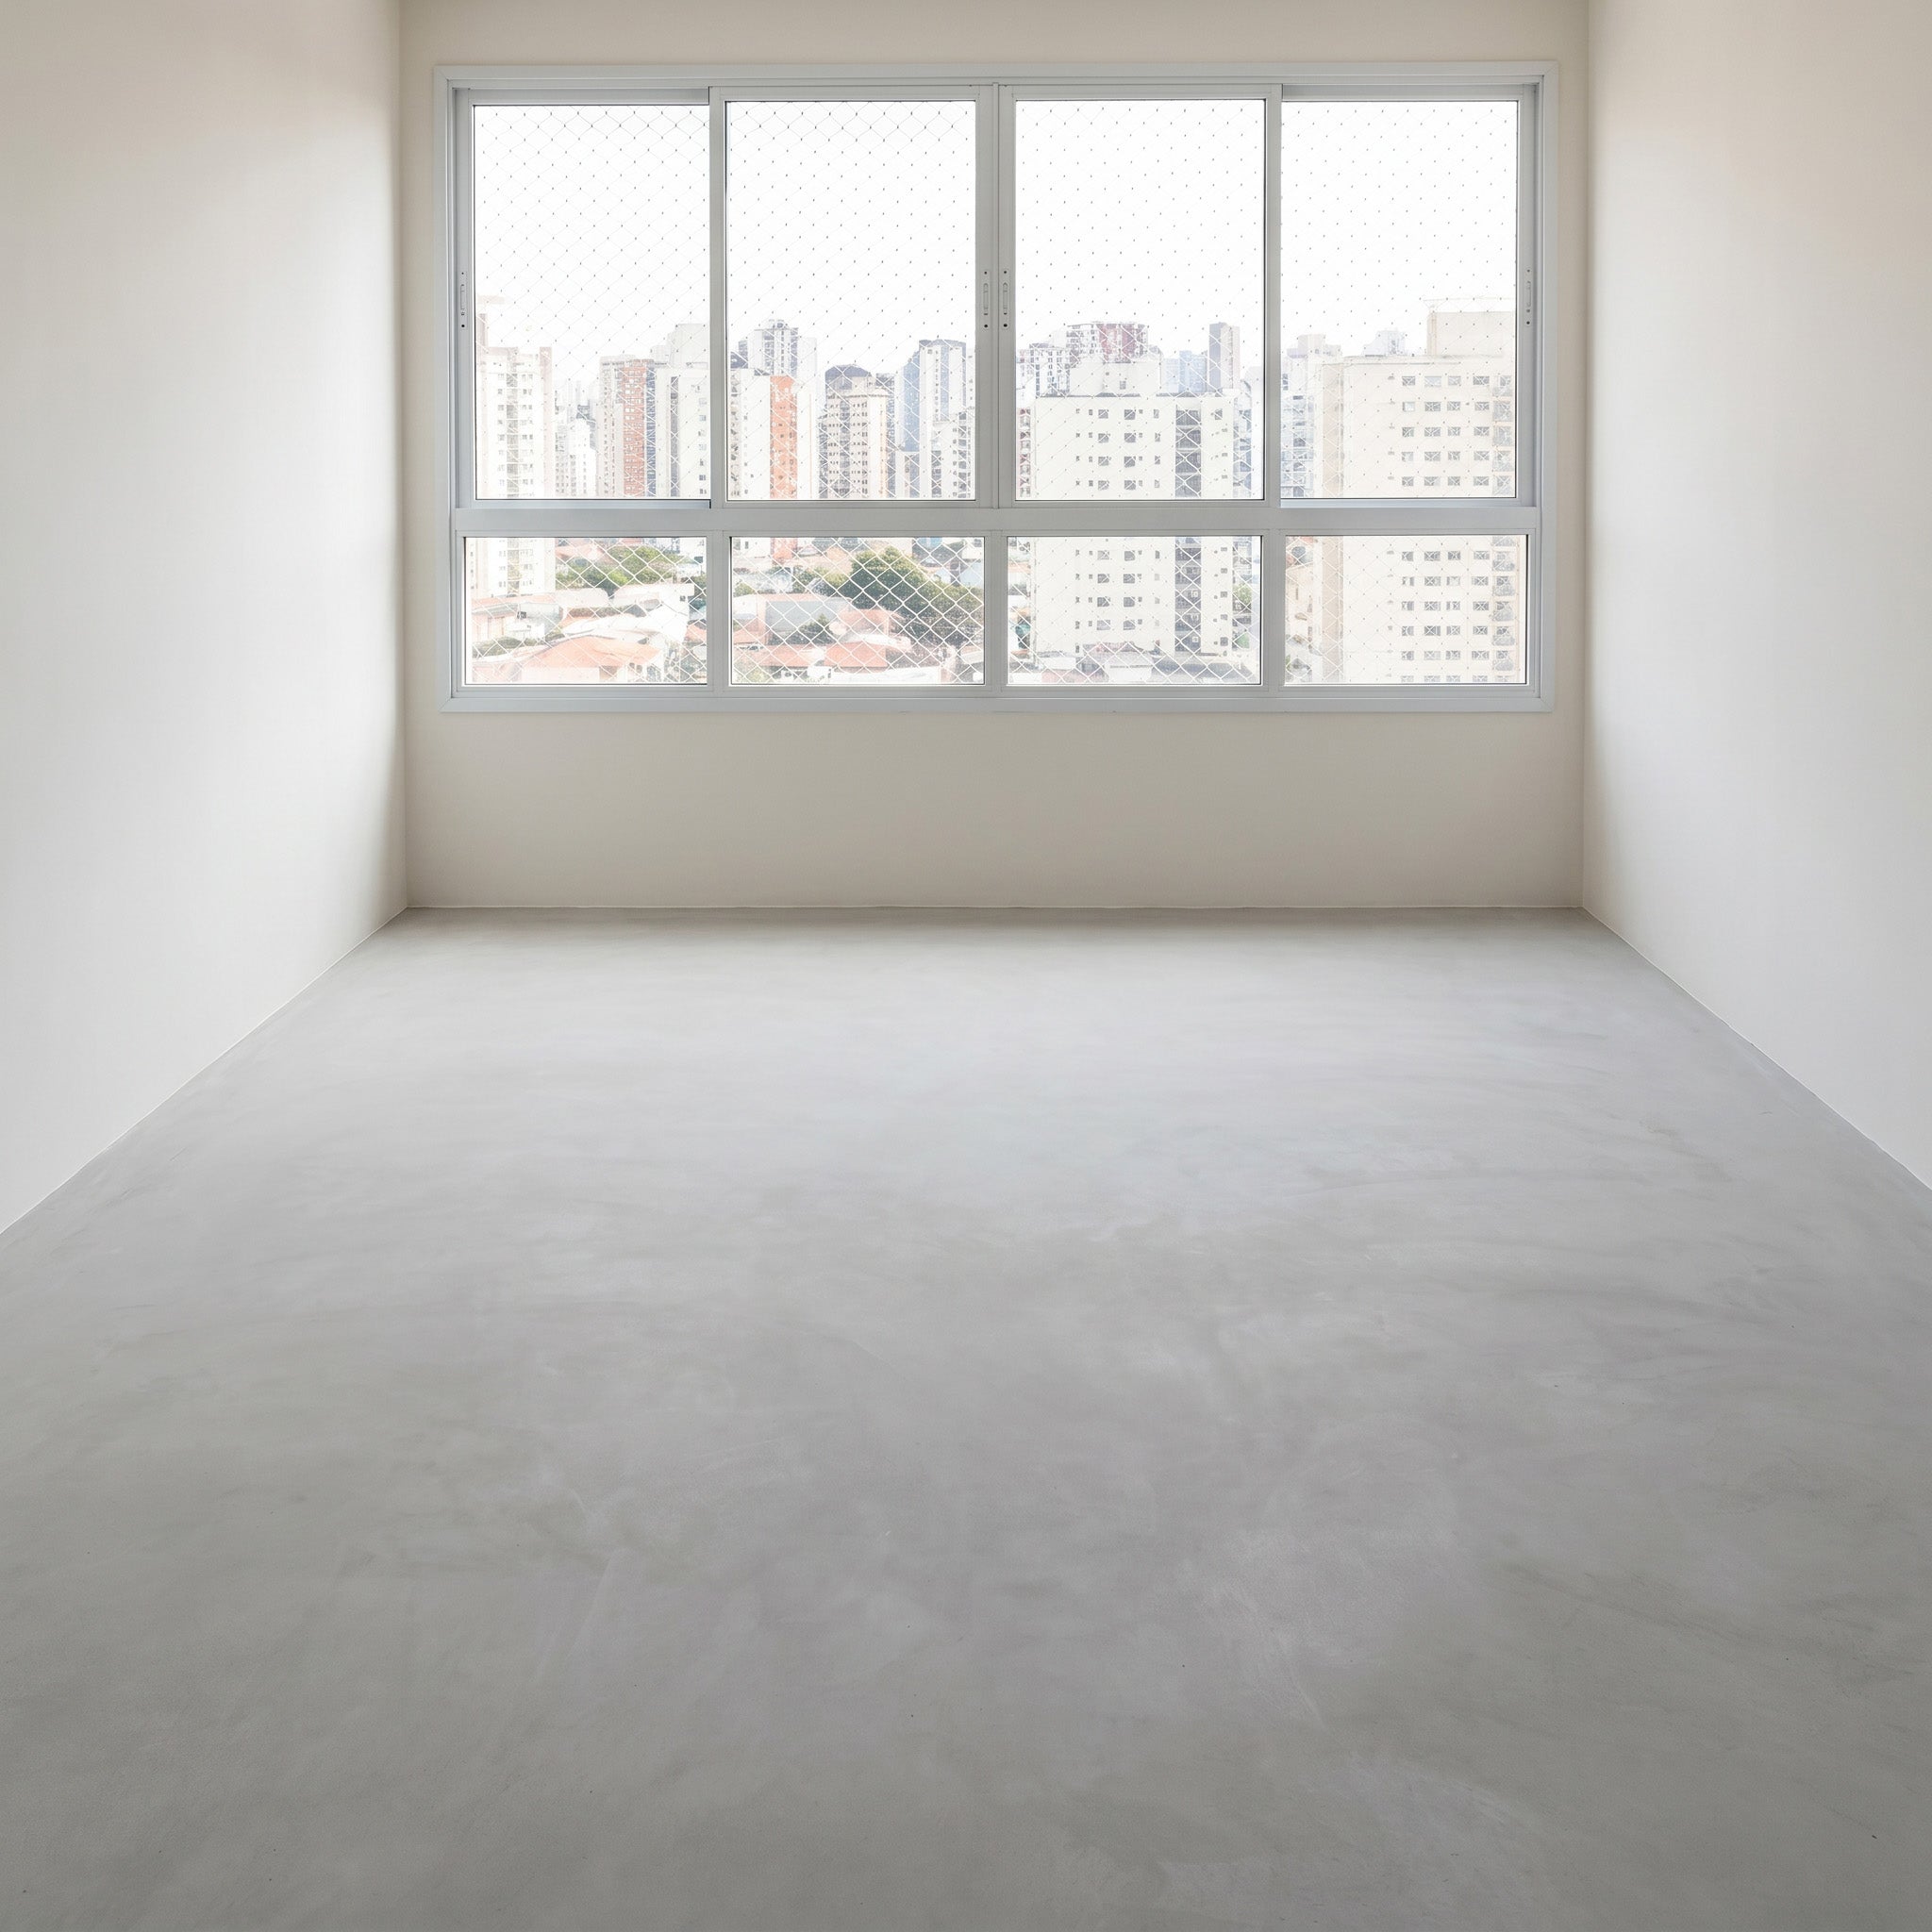
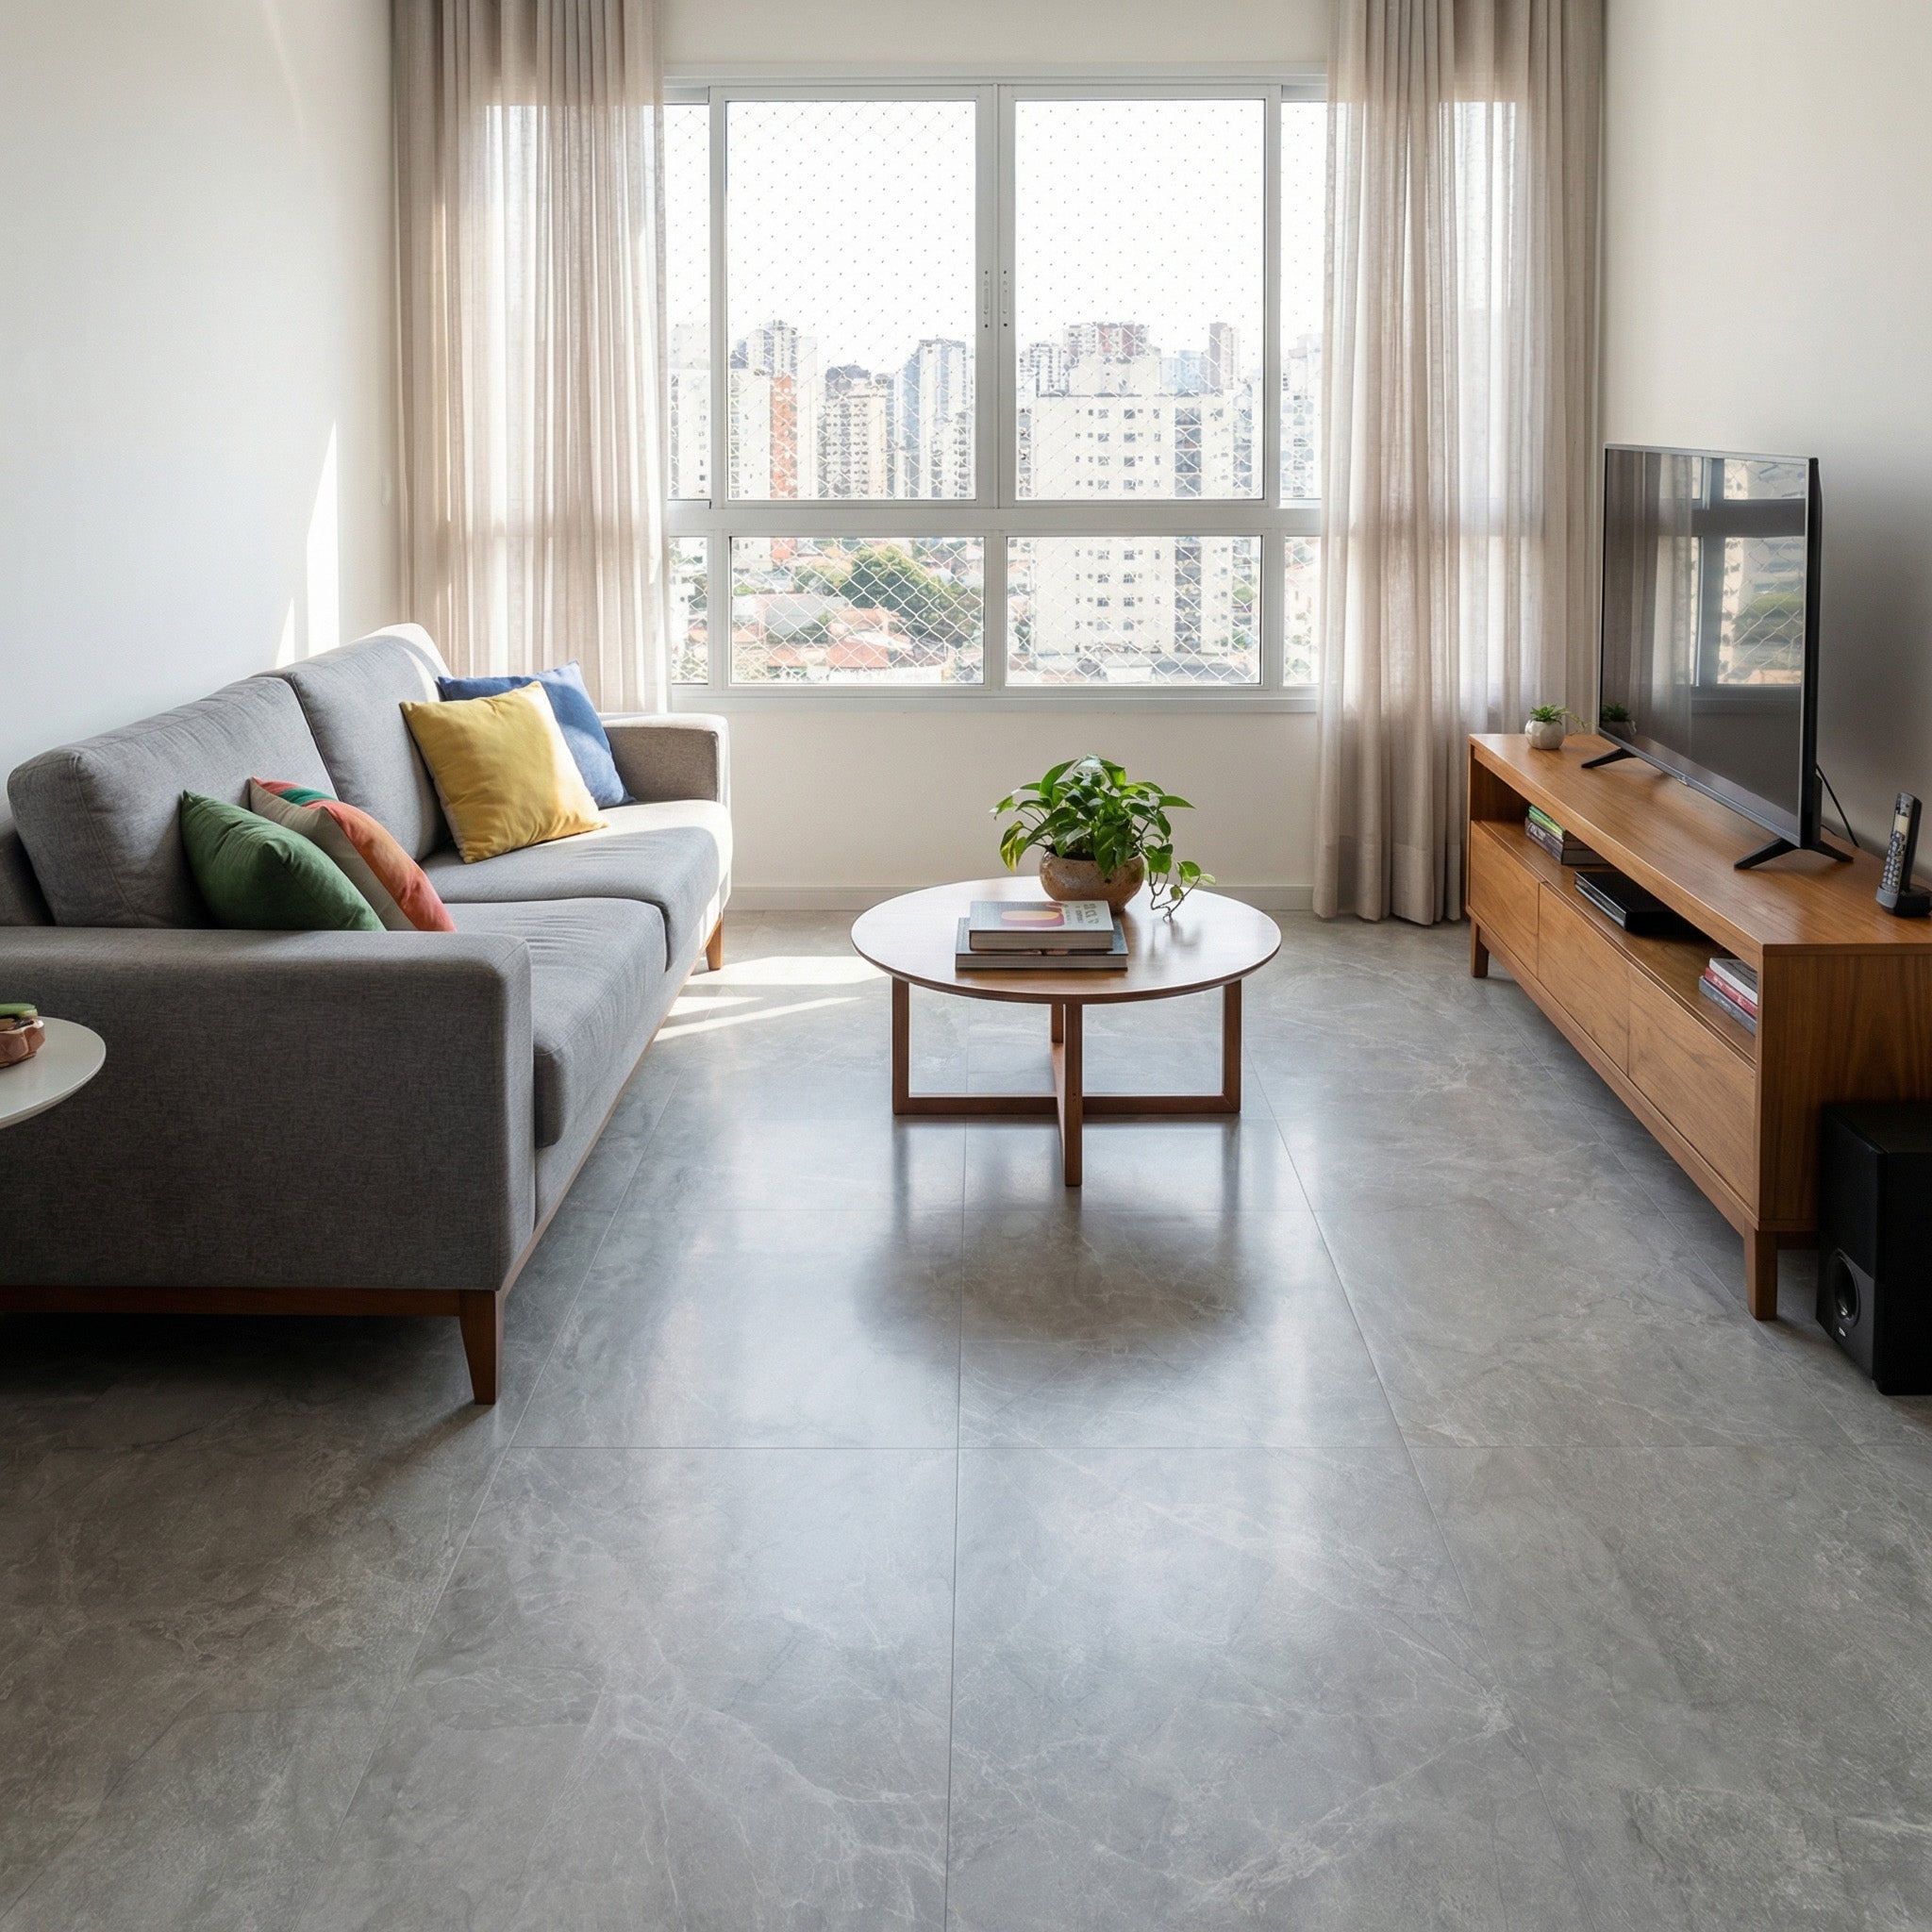
A different environment, no construction work
Why Choose Ecokap


A floor for every corner of your life


Frequently asked questions


